These classic sourdough dinner rolls are a great addition to any meal. They are puffy, have a soft crumb, buttery flavor, and are made from fresh milled flour.
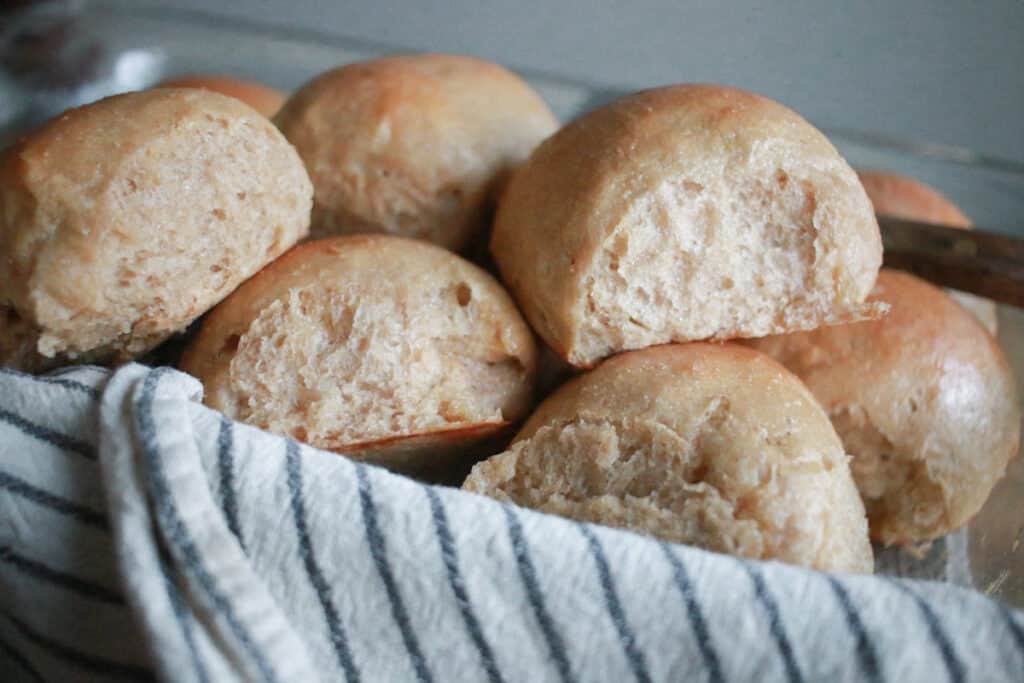
I don’t know about you but I grew up with good ole southern home cooking from my grandmother’s on both sides of my family. Dinner rolls were a must to master and after much testing, I have finally landed on a delicious milled flour sourdough version.
These make the perfect addition to any dinner. We love to use any leftovers to hold a breakfast sandwich the following morning too! I love to put together the dough the night before, transfer them to the fridge overnight, and shape them in the morning to be ready for dinner!
Benefits of using milled flour
There are many benefits of using fresh milled flour for all of your baking needs. Elevated nutrition is definitely the top reason we mill our own flour. We were gluten free for many years for gluten sensitivity issues. Sourdough milled flour completely transformed our ability to handle breads and baked goods.
In order to make commercial wheat flour, 30 percent of the most nutrient dense part of the wheat kernel is removed. Whole grain flour contains more nutrients, vitamins, and fiber than white flour. However, whole grain flour purchased from the store starts losing its nutrients soon after it is milled. Fresh milled flour contains vitamin E, folate, fiber, and antioxidants. Fresh milled flour even lowers the glycemic index resulting in less of a chance to spike blood sugar levels and longer lasting satiety.
Another benefit to using fresh milled flour is the depth, complexity of flavor, and texture that it adds to every baked good.

How to make milled flour dinner rolls
Mixing the dough
In the bowl of a stand mixer with the dough hook attachment, roughly combine the water, fresh milled flour, active sourdough starter, sugar, and softened butter. This takes approximately 3-5 minutes. Cover and autolyse for 30 minutes.
Autolyse is just a fancy term for letting the dough rest before the full kneading and adding the salt. Typically the autolyse process is just with flour and water. With the intention of creating the simplest recipe, I tested it this way and it works beautifully. This step is crucial, especially with fresh milled flour because it takes time for the flour to absorb the water and improve the workability of the dough. It helps rid the temptation of wanting to add more flour, resulting in dense bread.
After the autolyse step, you are ready to add the salt and complete the final kneading. Turn your stand mixer on low speed again for 10-15 minutes.
First rise
Transfer to a very lightly greased bowl. If needed, complete 1 stretch and fold.
The dough should appear to stay taut, smooth, and elastic at this point. Allow to rise, covered, preferably with plastic wrap, at room temperature for 3-6 hours or until risen by 80%. Plastic wrap is helpful to keep the dough from drying and crusting on the top as it rises.

The rise time will depend on the temperature of your kitchen and the activity of your sourdough starter prior to using. If you are wanting to speed up the initial rise time, putting your dough in a warm spot is helpful. Most often, I turn on my oven light, put the covered bowl of dough on a rack in the oven, and keep the door cracked open so that it doesn’t get too warm and deactivate my starter.
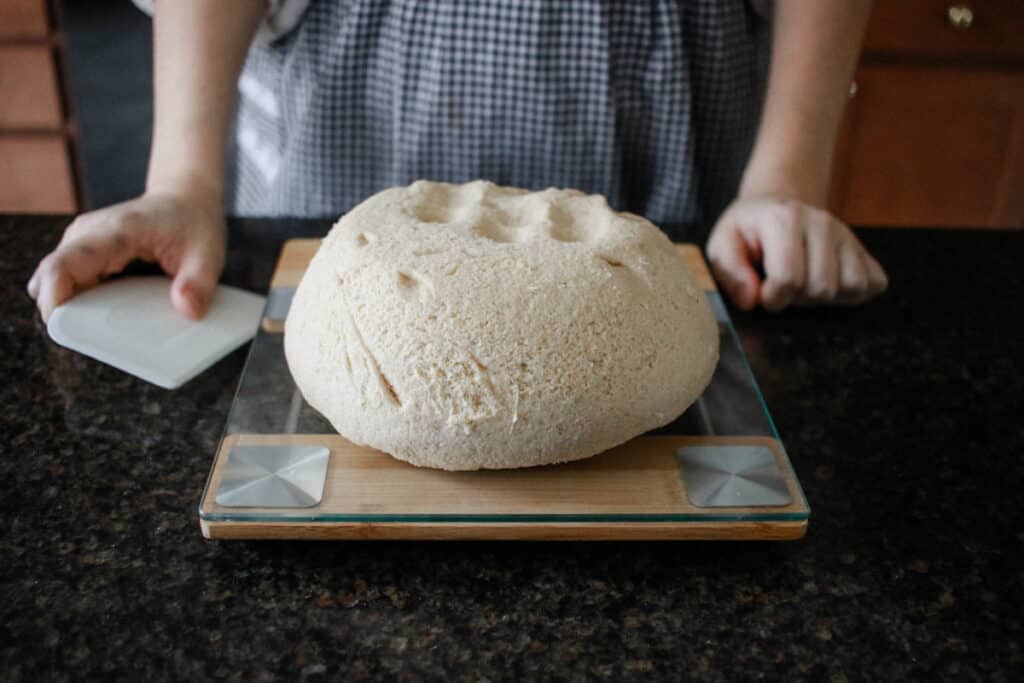
Transfer the risen, covered dough to the fridge overnight.
Cutting and shaping the dinner rolls
My easy method for getting the rolls to be almost equal in size is to weigh out the risen dough ball in grams and then divide it by 12. Each time I’ve made them, my dough needs to be roughly 92 grams per roll. I use a bench scraper to cut and portion my dough out evenly. You do not need to be this precise and your rolls will be just fine if you decide to just eyeball it.
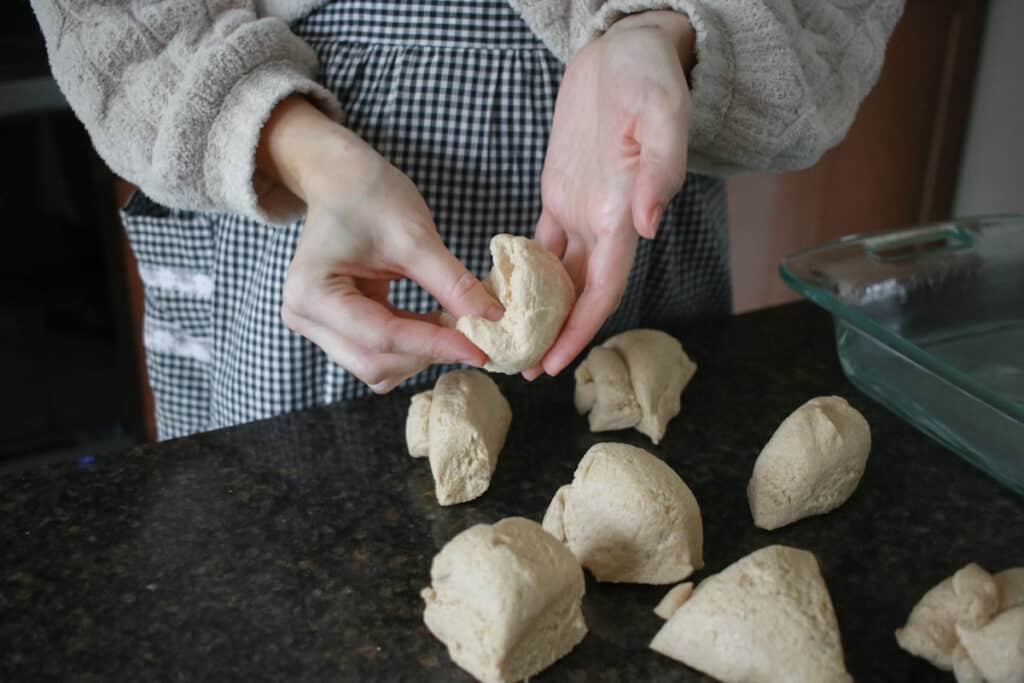
Shape each portion piece of dough into a ball by gathering up the sides and pinching them together.
Turn the dough over so that the seam side is down on the work surface and gently roll to form a smooth ball.
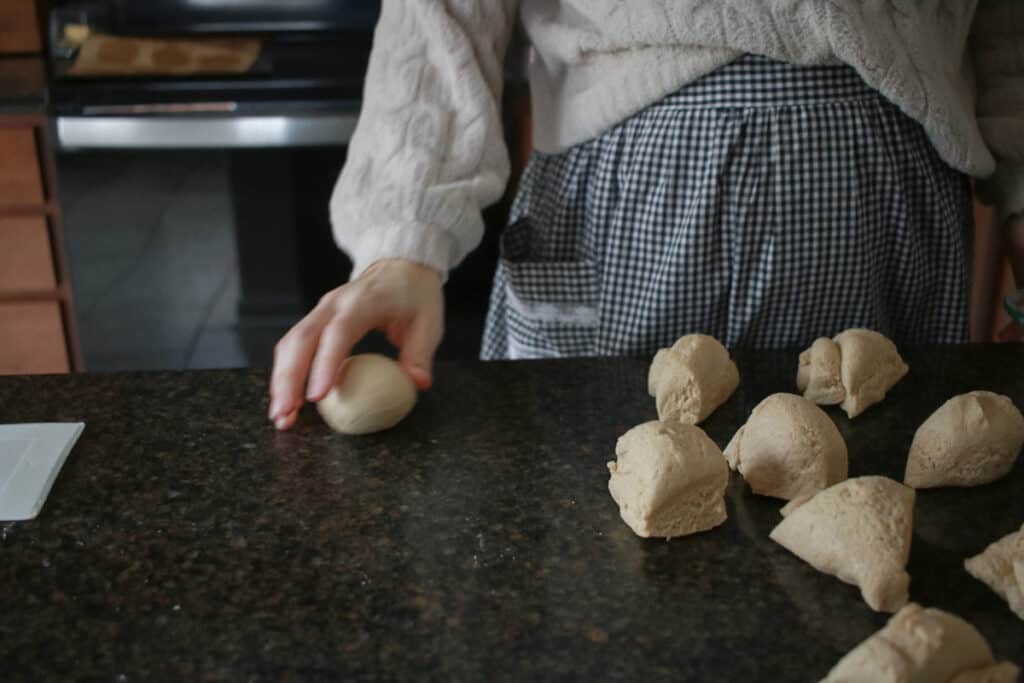
Second rise
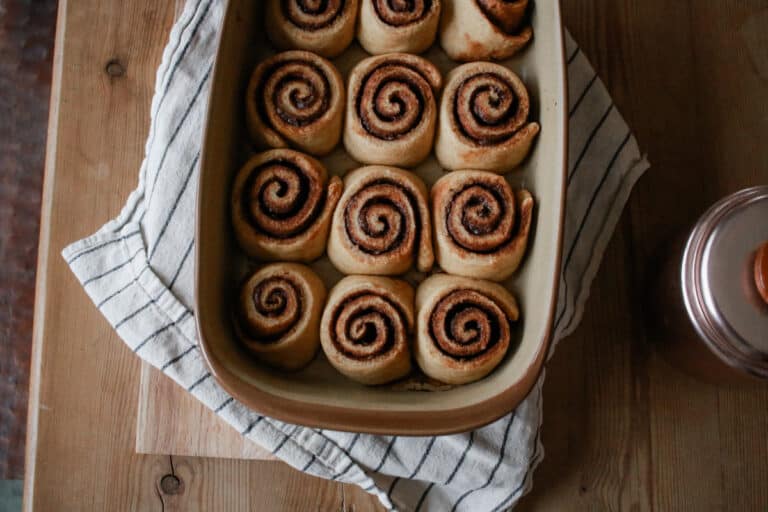
Place the smooth dough balls into a lightly greased, glass baking dish. Cover the rolls with a kitchen towel and allow them to rise at room temperature for 4-6 hours or until puffy.
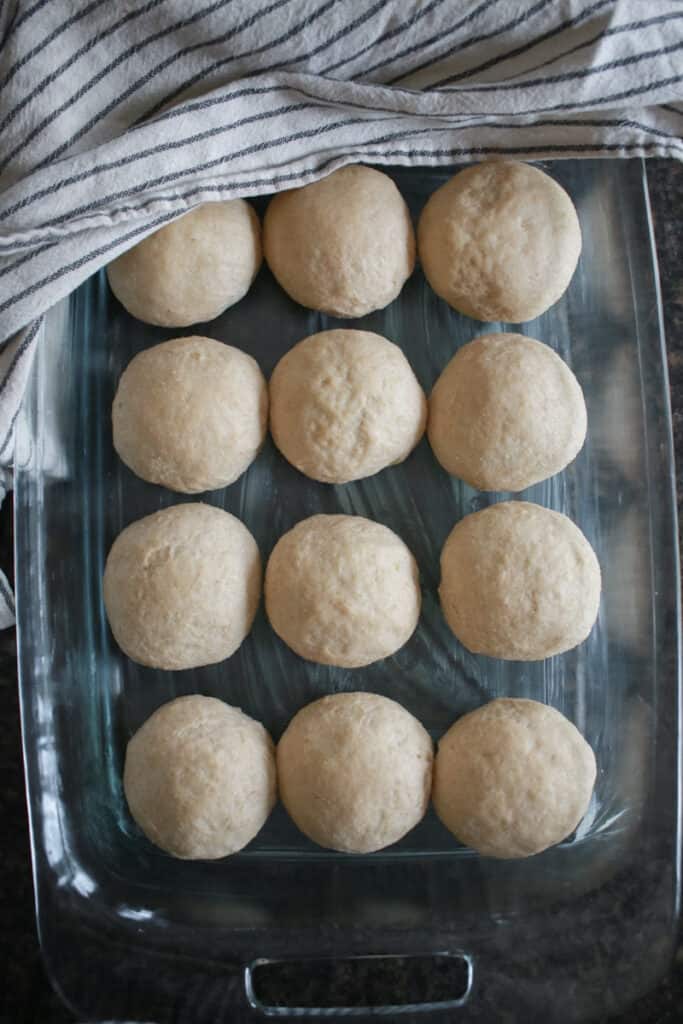
The picture below on the left shows when the rolls were first shaped. The picture on the right shows when the rolls had risen for 5 hours.
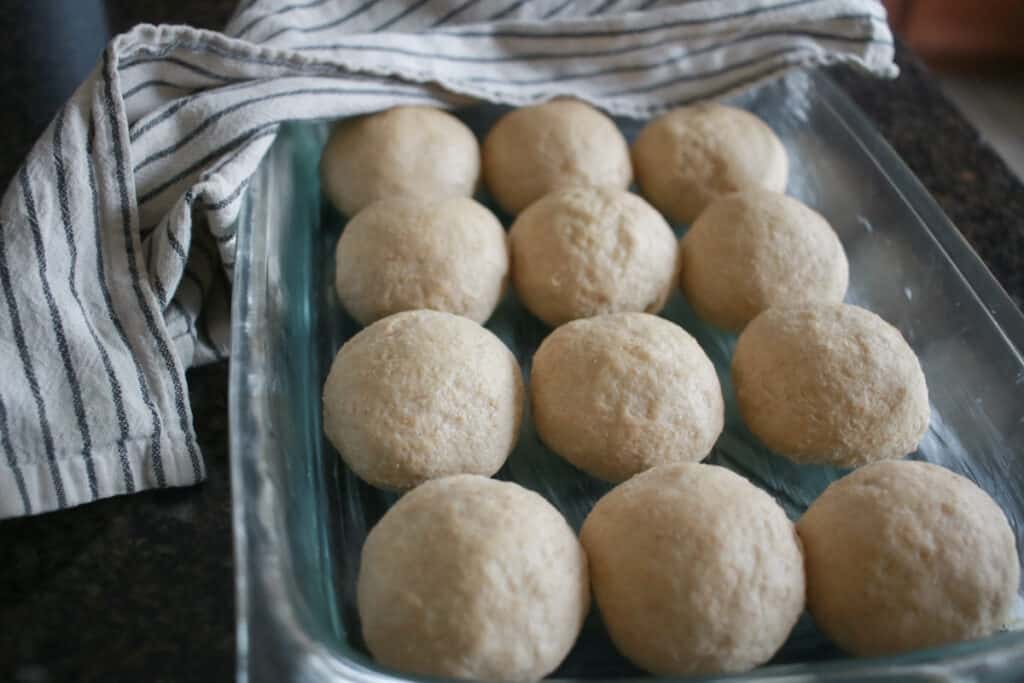

The dough should look puffy and risen by at least 50% when they are ready to bake.
Bake
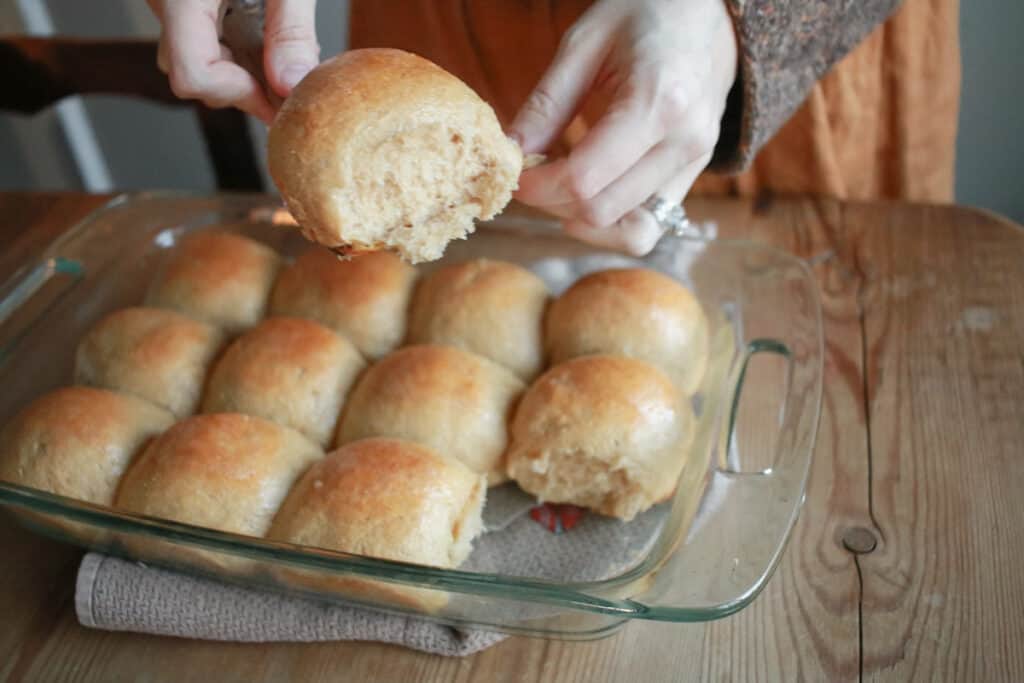
Lightly brush the top of the rolls with an egg wash. Bake the rolls at 375 degrees for approximately 20-25 minutes or until they have a light golden brown on the top.
Brush the tops with melted butter after they come out of the oven. Carefully remove the rolls from the baking dish and serve hot!
Sample baking schedule
- 10am the day before baking: Feed sourdough starter.
- 4pm the day before baking: Mix dough and let autolyse for 30 minutes.
- 4:30pm the day before baking: Add salt and knead the dough with the dough hook of a stand mixer or by hand for around 10 minutes. Cover with plastic wrap and let rise.
- 9pm the day before baking: Transfer dough in the fridge for the slow cold fermentation overnight.
- 11am the following day: Shape rolls for the second rise until risen by 50% and puffy.
- 4pm: Lightly brush with egg wash and bake.
Storing dinner rolls
You can store your rolls in a plastic bag with a zip top or beeswax wrap to prevent them drying out for up to 5 days.
If you would like to store it more long term, you can place it in the freezer, well-wrapped, for up to 3 months.
Tips for making dinner rolls
- Be sure that your starter is very happy and bubbly. Mixing the dough immediately when it has doubled (at least) is the perfect time to use it if you are able to time it just right.
- If your kitchen is warmer, you will need to reduce your rise time in the first and second rise to avoid over-proofing the dough.
- Use softened butter instead of melted so that you do not accidentally burn your starter.
- I have noticed that baking the rolls in a glass baking dish yields the softest rolls
- Don’t over-knead or under-knead your bread. You should be able to take a small piece of dough and pull it apart, creating a window that you can see through

Tools you may need
I’m somewhat of a minimalist in the area of bread making tools. This is mainly because I am fairly frugal. But, also because collecting physical clutter translates into major mental clutter for me. The tools we do have I use extremely often for their form and function. You can find a list of those items here.
More simple sourdough milled flour recipes
If you try this recipe and love it, I would love if you gave it 5 stars!
Also, make sure we get connected and tag me on Instagram @olivebranchacres.
Simple Sourdough Dinner Rolls Made with Milled Flour

These classic sourdough dinner rolls are a great addition to any meal. They are puffy, have a soft crumb, buttery flavor, and are made from fresh milled flour.
Ingredients
- 525 grams hard white wheat flour
- 300 grams water
- 180 grams active sourdough starter
- 90 grams butter
- 25 grams sugar
- 10 grams salt
Instructions
- In the bowl of a stand mixer with the dough hook attachment, roughly combine the water, fresh milled flour, active sourdough starter, sugar, and softened butter. This takes approximately 3-5 minutes.
- Cover and autolyse for 30 minutes.
- Add the salt and complete the final kneading. Turn your stand mixer on low speed again for 10-15 minutes.
- If needed, complete 1 stretch and fold as you transfer the dough to a lightly greased bowl. The dough should appear to stay taut, smooth, and elastic at this point. Allow to rise, covered with plastic wrap, at room temperature for 3-6 hours or until risen by 80%.
- Transfer the risen, covered dough to the fridge overnight.
- Divide the dough equally into 12 dinner rolls, shaping each portion piece of dough into a ball by gathering up the sides and pinching them together. Turn the dough over so that the seam side is down on the work surface and gently roll to form a smooth ball.
- Place the smooth dough balls into a lightly greased, glass baking dish. Cover the rolls with a kitchen towel and allow them to rise at room temperature for 4-6 hours or until puffy. The dough should look puffy and risen by at least 50% when they are ready to bake.
- Lightly brush the top of the rolls with an egg wash. Bake the rolls at 375 degrees for approximately 20-25 minutes or until they have a light golden brown on the top.
- Brush the tops with melted butter after they come out of the oven. Carefully remove the rolls from the baking dish and serve hot!
Notes
- An active starter is one that has been fed within 4-12 hours (will vary based on room temperature), has doubled in volume, and is bubbly.
- I keep my sourdough starter at 100% hydration which means I feed it with equal weights (grams), not volume, of flour and water.
- You can knead this recipe by hand; however, you will most likely need to increase the kneading times.
- The rise time will depend on the temperature of your kitchen and the activity of your sourdough starter prior to using.
- My easy method for getting the rolls to be almost equal in size is to weigh out the risen dough ball in grams and then divide it by 12. Each time I’ve made them, my dough needs to be roughly 92 grams per roll. I use a bench scraper to cut and portion my dough out evenly. You do not need to be this precise and your rolls will be just fine if you decide to just eyeball it.
Nutrition Information:
Yield:
12Serving Size:
1Amount Per Serving: Calories: 253Total Fat: 7gSaturated Fat: 4gTrans Fat: 0gUnsaturated Fat: 2gCholesterol: 16mgSodium: 309mgCarbohydrates: 42gFiber: 2gSugar: 3gProtein: 5g

These were amazing! Light and fluffy! My family loved them and they will be my go to for rolls,
These rolls are quite possibly the best I’ve ever had, and definitely the best I’ve ever made! They were a huge hit at Thanksgiving and now are the requested item for me to bring to all holiday gatherings. Thank you so much for sharing this recipe!